Replacing part of a lawn with native plants does not have to mean redesigning the whole yard. For most homeowners, the best first step is smaller: choose one patch of grass, prepare it well, and turn it into a simple native garden bed that is easy to care for.
That small bed can support pollinators, reduce mowing, add seasonal color, and help the yard feel more alive. It also gives you a practical way to learn what works on your site before expanding into a larger lawn alternative.
Key Takeaways
- Start with one small, visible patch of lawn instead of trying to convert the whole yard at once.
- Sheet mulching with plain cardboard and organic mulch is a beginner-friendly way to suppress grass without herbicide.
- Choose native plants that match the site’s sun, soil moisture, and mature size.
- A clean edge, repeated plant groupings, and mulch help a new native bed look intentional while it fills in.
- New native plants still need care during establishment, especially watering and weed checks in the first season.
Why Start With a Small Patch of Lawn?
Lawn conversion sounds intimidating when it is framed as an all-or-nothing project. A small bed is more realistic. It lets you test plant choices, learn your soil, and see how the area looks through a season without taking on more maintenance than you can handle.
A small native bed also fits the way most sustainable gardens actually grow. You might start with a sunny corner near a walkway, a hard-to-mow strip by the driveway, or a patch of lawn that dries out every summer. Once that area begins to work, you can repeat the process somewhere else.
This approach connects naturally with the bigger benefits of native plant landscaping and backyard biodiversity. Instead of treating lawn reduction as a statement, treat it as a useful household project: less mowing in one spot, more flowers for pollinators, and a bed that can become more resilient over time.
Choose the Right Spot Before You Remove Grass
Before you cover or remove any turf, spend a few days watching the area. The best first bed is not always the most dramatic one. It is usually the place where the project will be visible, manageable, and easy to water during the first season.
Look at three things first:
- Sunlight: Is the area full sun, part shade, or mostly shade?
- Moisture: Does it stay dry, drain normally, or collect water after rain?
- Use: Will people, pets, hoses, or mower paths need to move through the area?
Native plants are not interchangeable. A plant that thrives in a sunny, dry strip may fail in damp shade. A plant that spreads beautifully in a large border may feel too aggressive next to a narrow walkway. Matching the plant to the site matters more than picking the prettiest flower on the label.
If you are new to native plant selection, use this bed as a companion project to How to Choose Native Plants for Your Yard. The goal is to build a simple plant list for your actual conditions, not a generic list that could belong anywhere.
How to Prepare the Lawn Area Without Herbicide
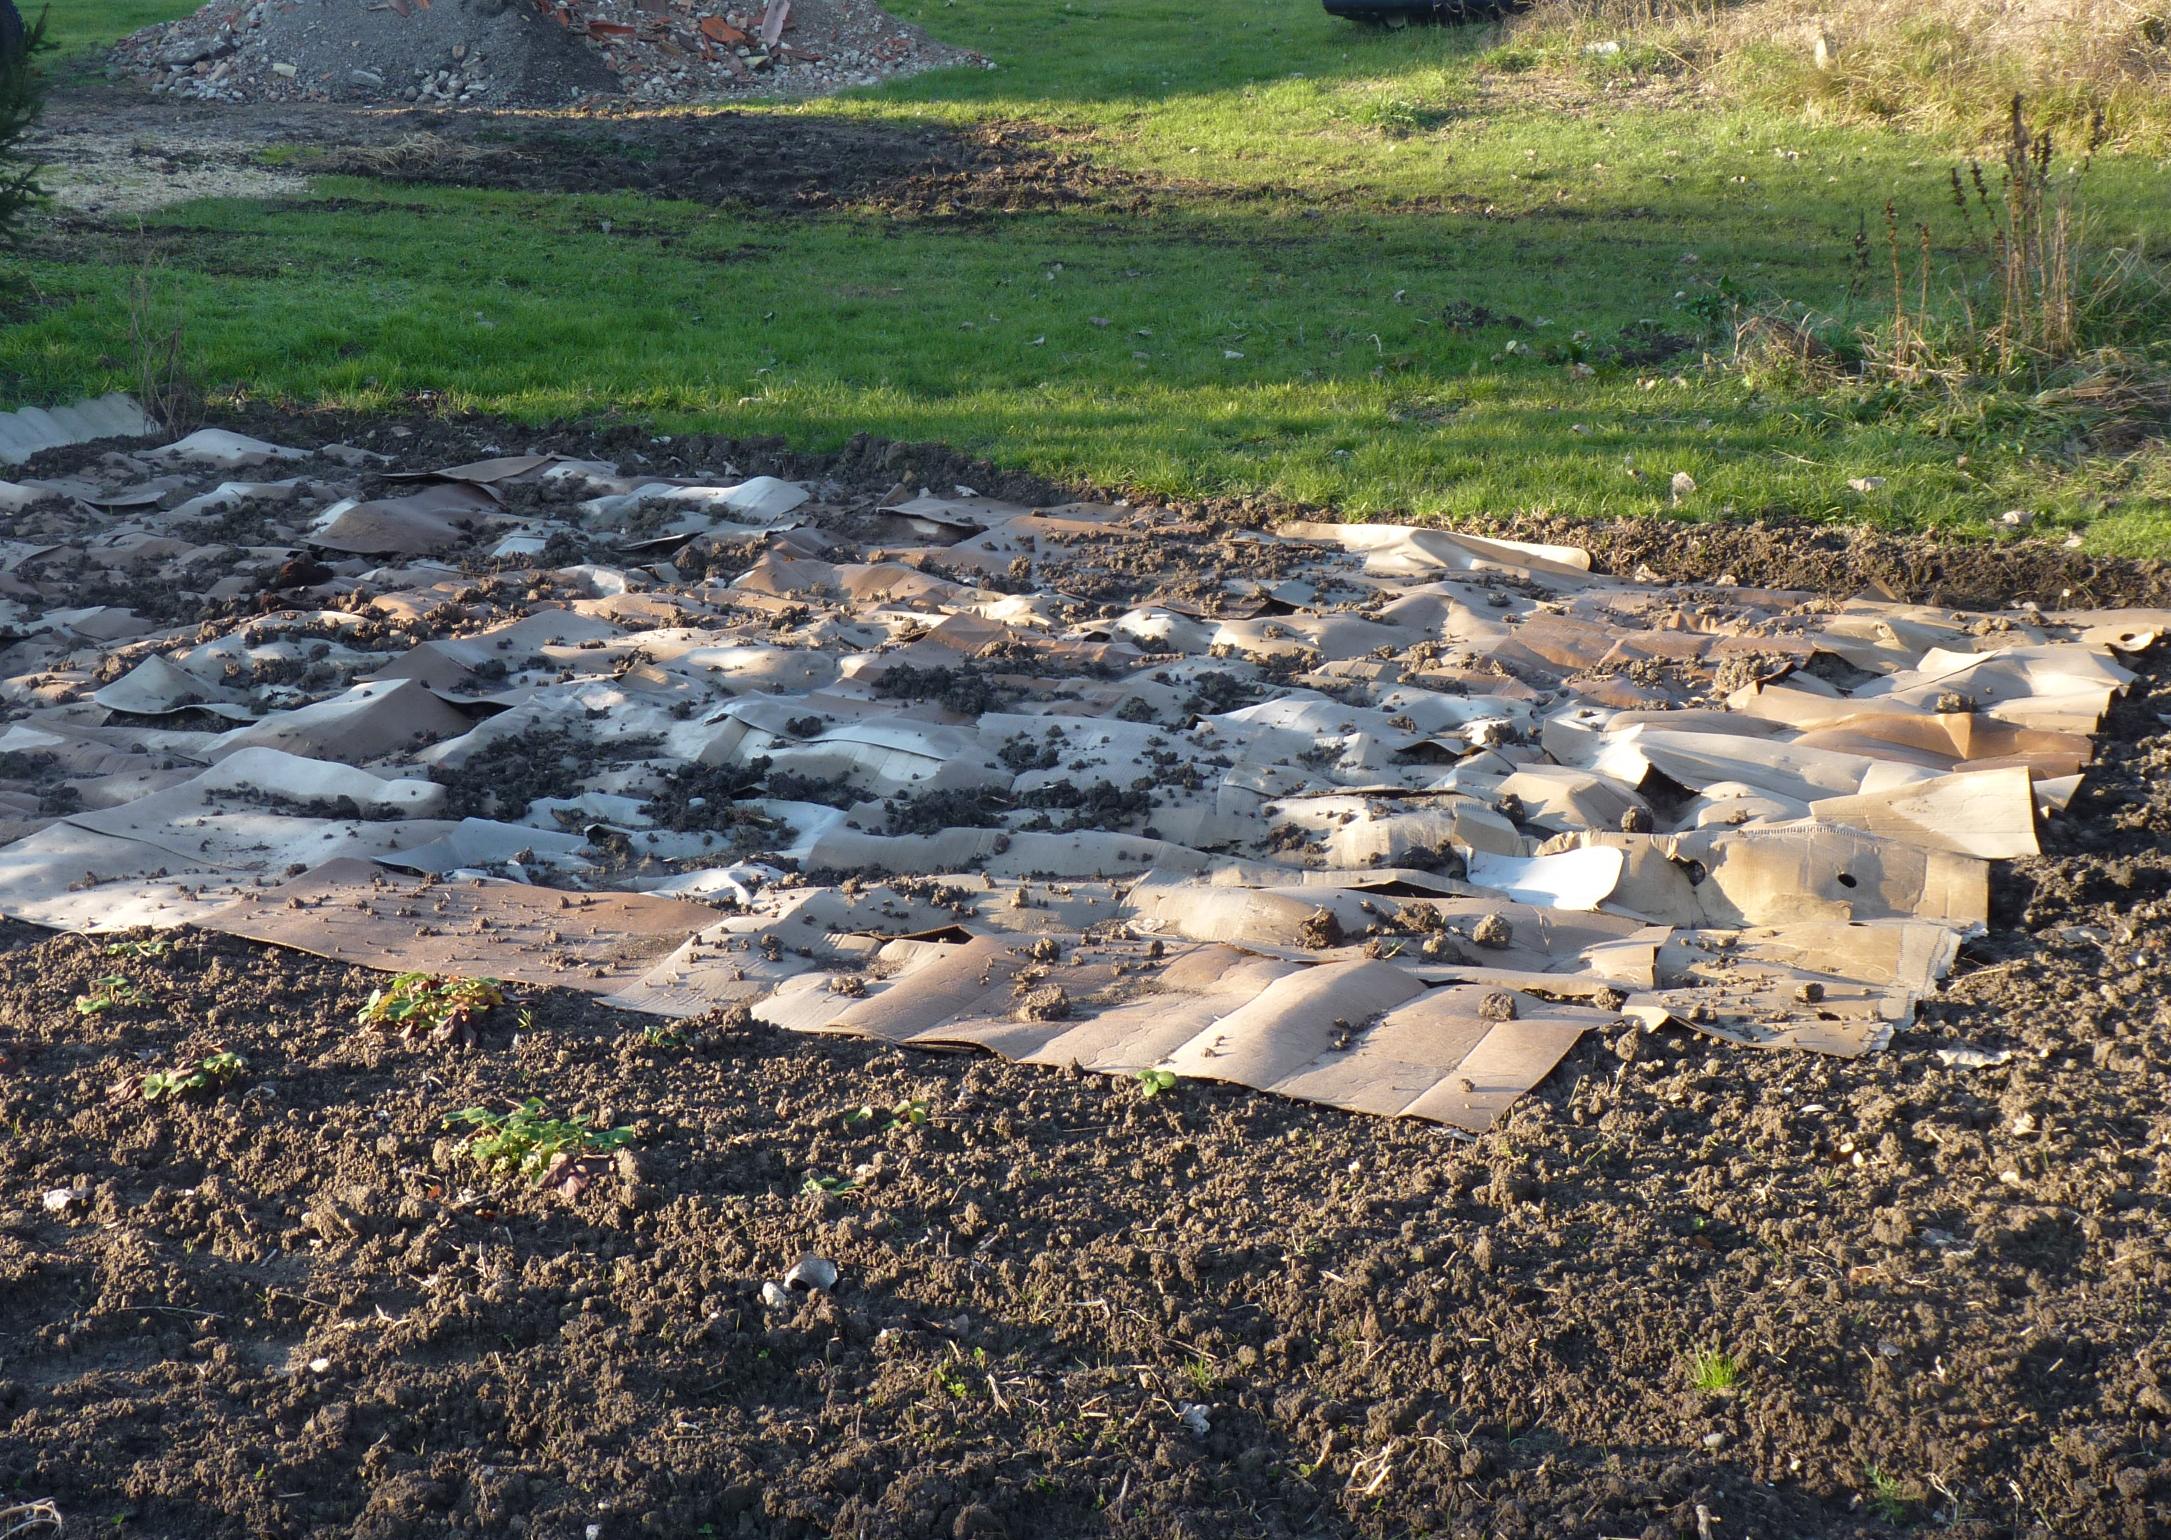
For a beginner-friendly lawn-to-bed project, sheet mulching is often the easiest place to start. The basic idea is simple: mow the grass short, cover it with overlapping plain cardboard or heavy paper, wet the material, and top it with organic mulch. The covered grass is deprived of light, and the materials gradually break down.
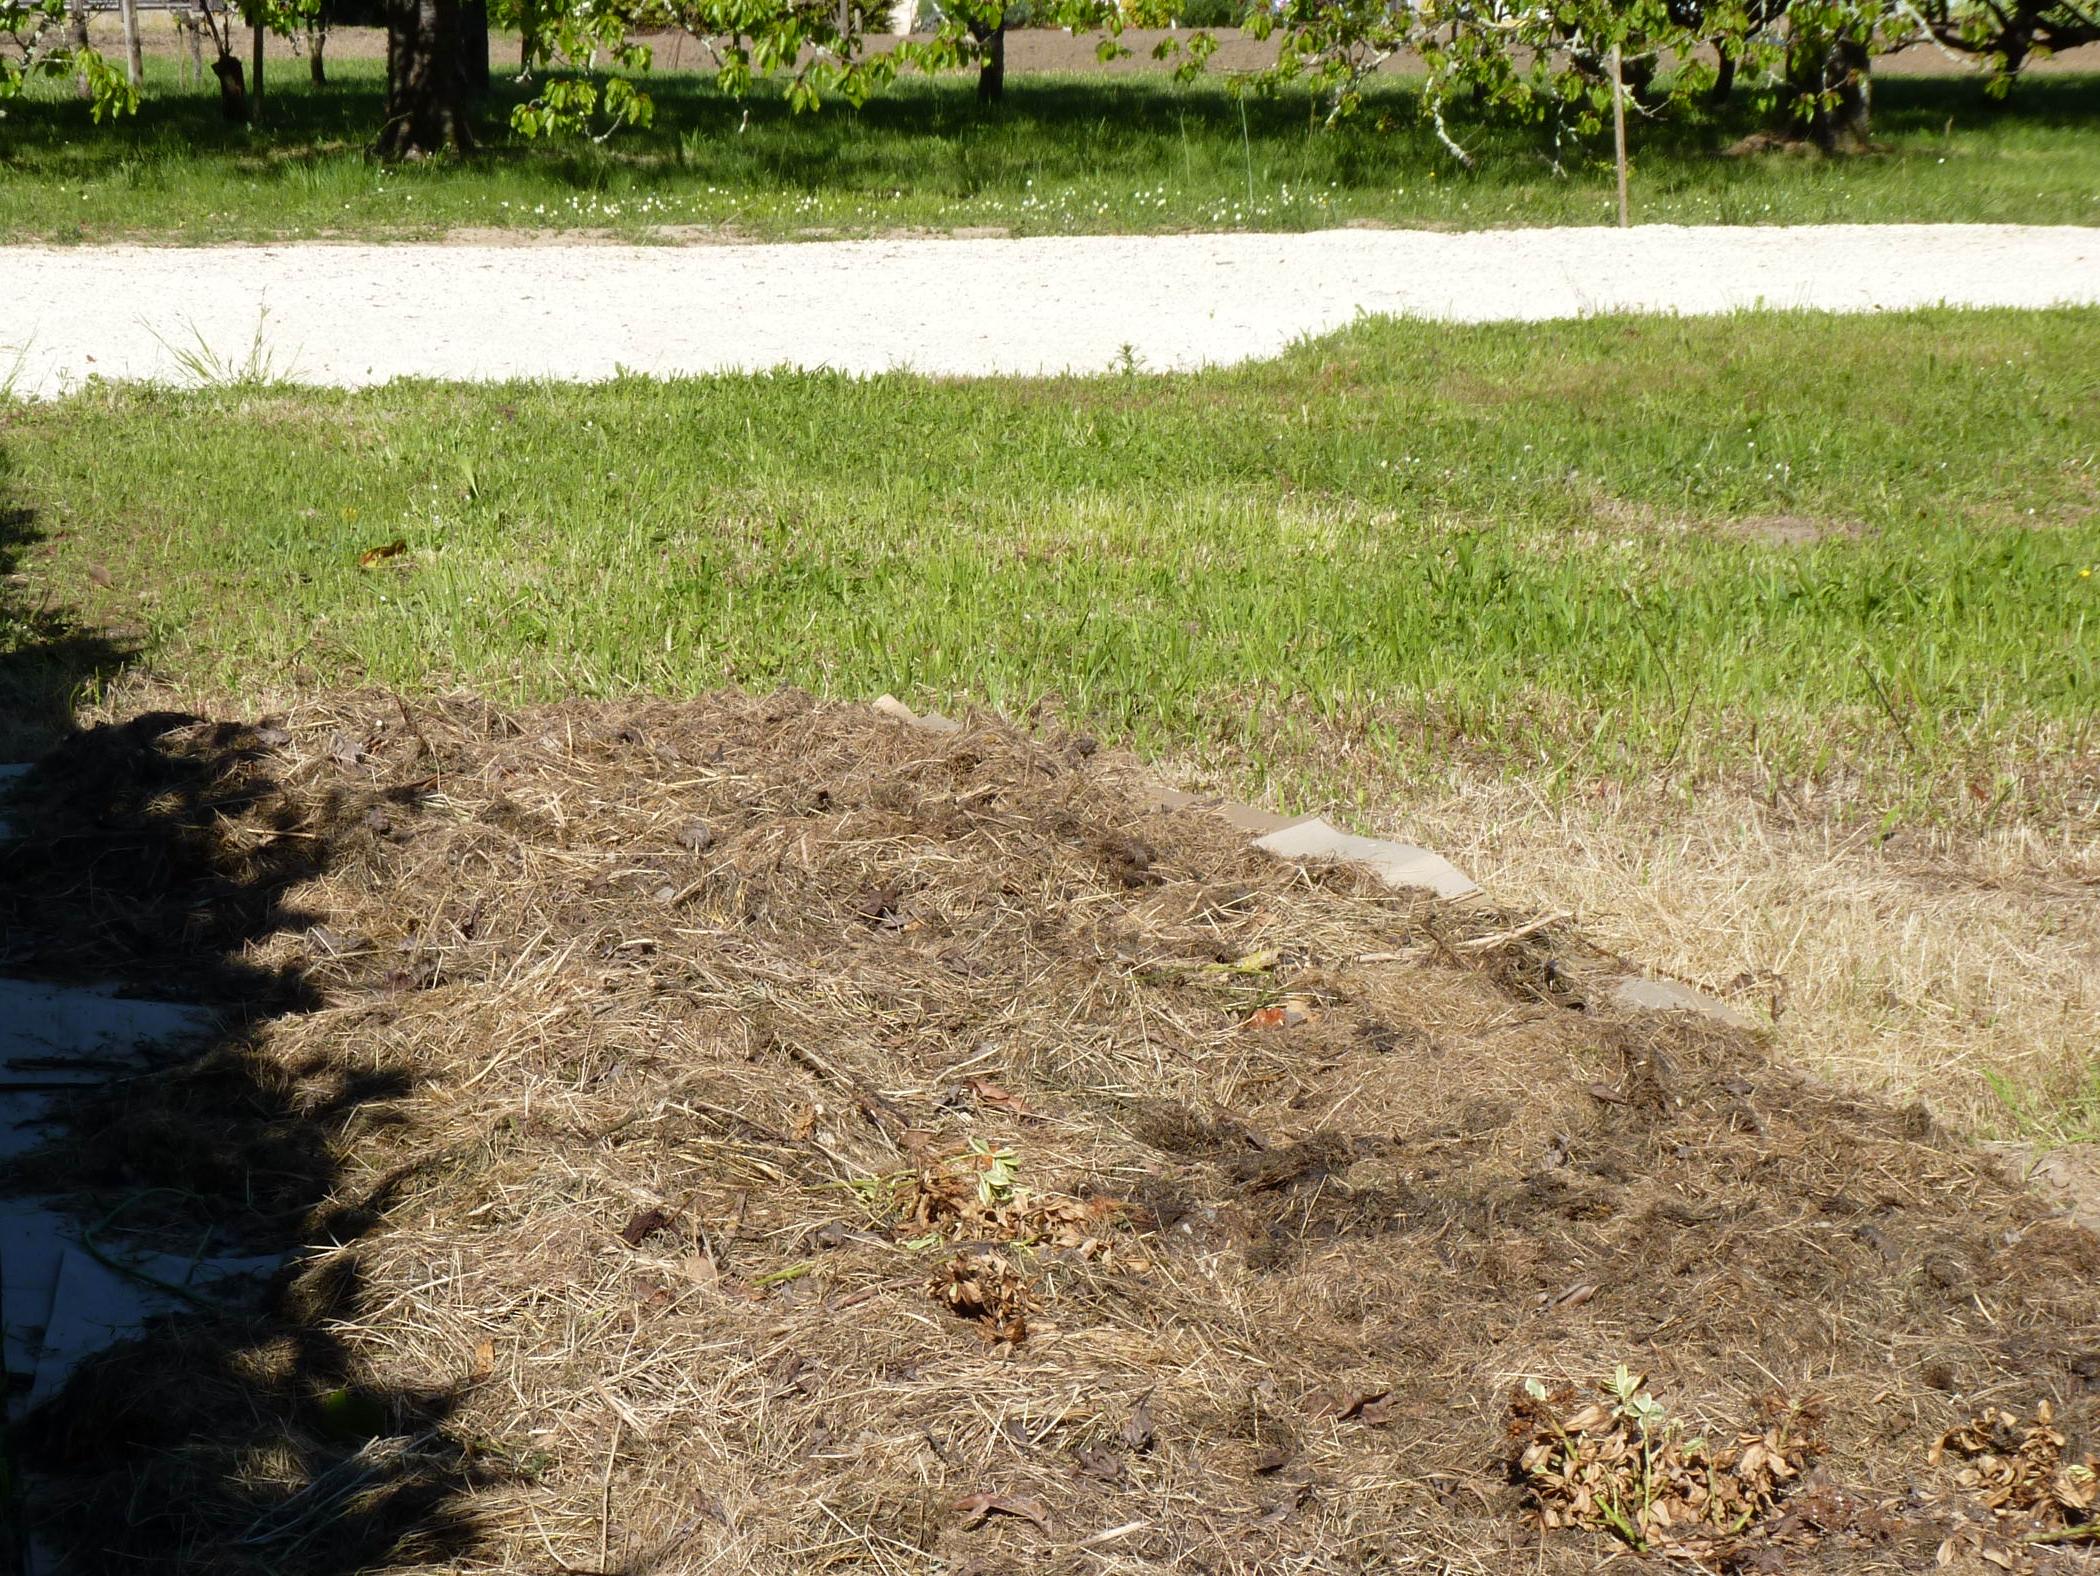
Use plain cardboard whenever possible. Remove tape, staples, glossy coatings, labels, and plastic bits before laying it down. Overlap the edges so grass does not find easy gaps. Then add enough mulch to hold the cardboard in place and make the bed look finished.
Sheet mulching is useful because it avoids heavy digging and can reduce the need for herbicide. It is not instant magic, though. Tough grasses and perennial weeds may push through weak spots, especially near the edges. Check the area regularly and pull any escapes while they are small.
If you need to plant right away, you can cut planting holes through the sheet-mulched area, fold back the cardboard, and plant into the soil below. If you have more time, you can prepare the bed first and plant later after the grass has weakened. The right timing depends on your climate, season, and how dense the lawn is.
Digging out sod is another option, especially for very small beds. It gives faster access to soil but takes more work and can disturb soil structure. For many homeowners, sheet mulching is the better first attempt because it turns a hard job into a slower, steadier process.
Pick Native Plants That Fit the Site
Once the bed is prepared, choose a small number of native plants that fit the light, moisture, and space. You do not need a long plant list. In fact, beginners often get better results by repeating a few reliable species than by buying one of everything.
Think in layers:
- One or two structural plants for height or shape
- Several flowering perennials for seasonal color and pollinator support
- A lower-growing edge plant or groundcover to soften the front of the bed
Pay attention to mature size. A one-gallon plant can look tiny at first, but many native perennials and grasses expand significantly after a few seasons. Give plants enough room to fill in without crowding each other immediately.
If you want the bed to support pollinators, include flowers that bloom at different times. A garden that offers spring, summer, and fall bloom is more useful than one that looks good for two weeks and then goes quiet.
For more on the ecological side of this choice, connect this project with How to Create a Pollinator-Friendly Garden at Home and Why Biodiversity Matters in Your Backyard.
Make the New Bed Look Intentional
One reason homeowners hesitate to add native plants is that they worry the result will look messy. The easiest way to avoid that is to give the bed clear structure from the beginning.
A crisp edge helps. It can be a simple spade-cut edge, a narrow stone border, metal edging, or a mulched line that separates the planting from the remaining lawn. The edge tells the eye that the bed is intentional, even while young plants are still filling in.
Repeat plants in small groups instead of scattering single plants everywhere. Three of one species often looks calmer than three unrelated plants in three different places. Leave enough space for growth, but avoid spacing so wide that the bed looks empty for years.
Mulch also matters. A fresh organic mulch layer suppresses weeds, conserves moisture, and gives the young bed a finished look. For help choosing the right mulch, see Best Mulch Options for Different Garden Areas.
First-Season Care for a New Native Garden Bed
Native plants are often lower-input once established, but they are not maintenance-free on day one. The first season is about helping roots settle in and preventing grass or weeds from taking back the space.
Water new plants deeply after planting. During dry stretches, check the soil before assuming rainfall has done enough. A plant that will eventually tolerate drought may still need regular watering while its roots are small.
Weed lightly and often. Pull grass that comes through the sheet mulch, especially along edges and planting holes. Keep mulch away from plant crowns and stems so moisture does not sit directly against them.
Expect the bed to change. Some plants may grow slowly at first while they establish roots. Others may bloom modestly the first year and improve later. Native planting is a long-term system, not an instant display.
Common Mistakes to Avoid
The biggest mistake is starting too large. A huge new bed can become frustrating if you do not yet know which weeds, soil conditions, or watering habits you are dealing with. Begin with an area you can maintain in a few minutes at a time.
Another mistake is choosing plants by flower color alone. Color matters, but site fit matters more. Sun, drainage, mature height, and spacing will decide whether the bed becomes easier over time or turns into a constant correction project.
Do not skip the edges. Grass is persistent, and an undefined border makes it easier for turf to creep back into the bed. A clean edge also makes the project more acceptable in a front yard or shared neighborhood view.
Finally, do not expect native plants to perform like plastic decorations. They grow, lean, bloom, seed, rest, and change through the seasons. That is part of the value. The design goal is not to freeze the bed in one perfect moment, but to guide a living planting so it stays useful and attractive.
FAQ
How big should my first native garden bed be?
Start small enough that you can weed and water it easily. A corner, narrow strip, or bed roughly the size of a small parking space can be enough for a first project. The exact size matters less than choosing a space you can maintain.
Can I plant natives directly into sheet mulch?
Yes, but plant carefully. Cut openings where each plant will go, move the cardboard back from the planting hole, and plant into the soil below. Keep mulch around the plant, not piled against its crown.
Do native plants need watering the first year?
Usually, yes. Many native plants become more self-reliant after establishment, but new plants still need consistent moisture while roots grow into the surrounding soil.
Will a native garden bed look messy?
It does not have to. Use clear edges, repeat plants in groups, keep the bed mulched, and choose plants with mature sizes that fit the space. Structure helps a young native bed look deliberate.
Do I need to remove all my lawn?
No. Replacing one small patch can still make your yard more useful and diverse. You can expand later if the first bed works well.
Related Reading
For closely related next steps, read Benefits of Native Plant Landscaping for Sustainable Yards, How to Make a Small Yard More Wildlife-Friendly, and Drought-Tolerant Gardening Tips for Home Landscapes.
Conclusion
Turning a small patch of lawn into a native garden bed is one of the most manageable ways to make a yard more sustainable. You do not need to remove every blade of grass or master ecological design before starting.
Choose one useful spot, prepare it well, plant for the real conditions, and care for it through the first season. If the bed works, it becomes both a finished project and a template for the next patch of lawn you are ready to convert.
Explore this topic
For more practical guidance around gardening, visit the Gardening hub.
- How to Keep Weeds Down Without Reaching for Herbicide
- Shade-Friendly Native Plant Ideas for Low-Maintenance Yards
- How to Water New Plants Until They Are Established
Image Credits
- Featured: photo by EvanCarroll via Wikimedia Commons, licensed CC BY-SA 4.0.
- Body 1: photo by Natureln via Wikimedia Commons, licensed CC BY-SA 4.0.
- Body 2: photo by Natureln via Wikimedia Commons, licensed CC BY-SA 4.0.
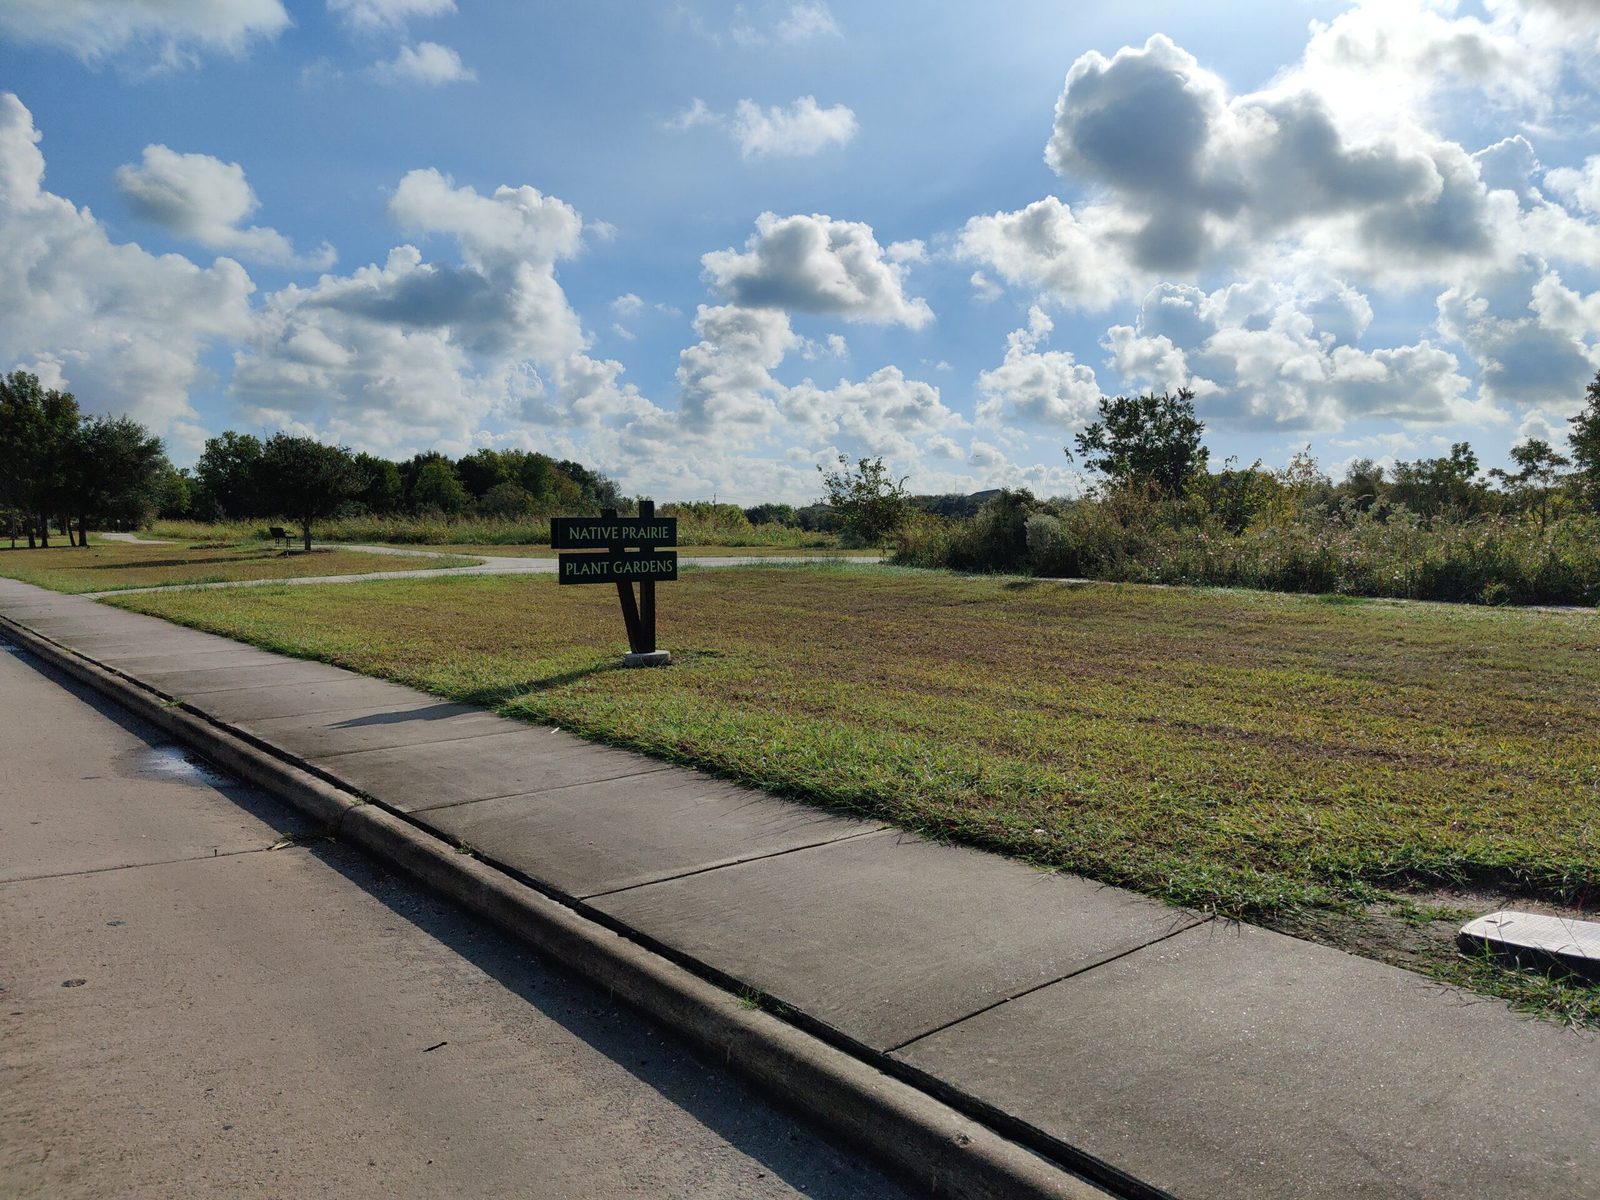
- Featured image: A small native-style planting can turn part of a lawn into a more useful garden bed. Photo by EvanCarroll via Wikimedia Commons, licensed CC BY-SA 4.0.
- RG-022 Body 1 – Sheet Mulching Cardboard: Plain cardboard can help smother grass before mulch and planting are added. Photo by Natureln via Wikimedia Commons, licensed CC BY-SA 4.0.
- RG-022 Body 2 – Sheet Mulch Layer: A mulch layer helps hold the cardboard in place, reduce light, and make the new bed look finished. Photo by Natureln via Wikimedia Commons, licensed CC BY-SA 4.0.