
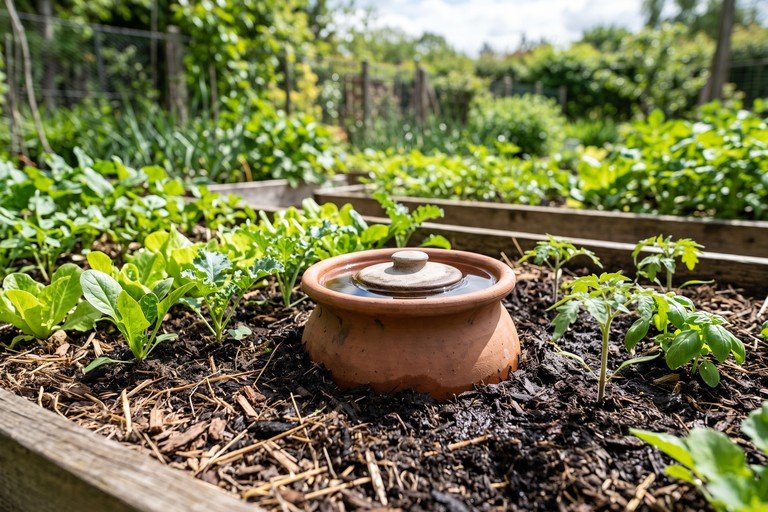
Olla irrigation is an ancient, highly efficient watering method that uses buried, unglazed terracotta clay pots to deliver water directly to plant roots. Because clay is porous, water slowly seeps through the pot walls as surrounding soil dries out.
This system eliminates evaporation and runoff, saving up to 70% of garden water compared to overhead sprinkling. Making your own DIY olla is incredibly simple and cost-effective using standard clay flowerpots.
Key Takeaways
- Ollas use slow, subterranean seepage to water plants directly at the root zone.
- Make a DIY olla by sealing the bottom drainage hole of an unglazed clay pot.
- Bury the pot up to its neck in your garden bed and cover with a lid to prevent evaporation.
- Perfect for thirsty vegetables like tomatoes, squash, and melons.
Quick Guide
| DIY Olla Step | Material / Tool Needed | Action |
|---|---|---|
| Seal Drainage Hole | Silicone sealant, cork, or plumbers putty | Plug the bottom hole of the pot |
| Glue Pots Together | Waterproof silicone or epoxy | Join two pots rim-to-rim (optional) |
| Bury in Garden Bed | Trowel or shovel | Dig a hole and bury olla up to its neck |
| Fill and Cover | Water can, flat stone or saucer | Fill with water and place lid on top |
How olla irrigation works
An olla (pronounced ‘oy-yah’) operates on soil moisture tension. When the surrounding soil is wet, water stays inside the clay pot. When the soil dries, it pulls water through the porous terracotta walls.
This creates a self-regulating watering system where plants receive exactly the amount of water they need, right where their roots are growing.
How to make a simple DIY olla
To make a single-pot olla, take an unglazed clay pot (8-10 inches wide) and plug the bottom drainage hole with a silicone sealant and a cork. Let the sealant cure for 24 hours.
For a larger, double-pot olla, glue two unglazed pots together rim-to-rim using silicone. Seal the bottom hole of the lower pot, and leave the top hole open to fill with water.
Burying and spacing your olla
Dig a hole in your garden bed and place the olla inside, leaving about an inch of the rim protruding above the soil surface. Pack the soil firmly around the sides of the clay pot.
Space your plants within 12-18 inches of the olla, so their roots can grow toward the moisture source. A single large olla can easily water a 3-foot garden area.
Maintain your olla irrigation system
Always place a flat rock, saucer, or tight lid over the top opening. This prevents water from evaporating, keeps mosquitoes from breeding, and stops dirt from falling inside.
Fill the olla with clean water once or twice a week. In cold climates, dig up the clay pots before winter so freezing water doesn’t crack them.
Integrate ollas into water-wise gardens
DIY ollas are perfect for raised beds, container gardens, and dry backyard plots.
Combine ollas with other watering habits by reading How to Reduce Water Use in Your Garden.
FAQ
Can I use glazed pots for a DIY olla?
No, glazed ceramic pots block water flow. You must use unglazed terracotta clay pots so water can seep through the porous walls.
What plants grow best around an olla?
Thirsty, deep-rooted vegetables like tomatoes, peppers, squash, melons, and eggplants thrive around ollas.
How often do I need to fill an olla?
Usually once or twice a week, depending on your climate, soil type, and plant size. Check the level every few days.
Conclusion
DIY olla irrigation is a simple, affordable, and incredibly water-efficient project that takes the guesswork out of watering. By burying unglazed clay pots in your garden, you can grow healthier plants while conserving water.
Image Credits
- Featured image generated with Nano Banana for Renewable Gardening as a custom, topic-specific editorial image for DIY Olla Irrigation: Simple Terracotta Watering Systems (media ID 753).